Showing posts with label Venus Bronze Works. Show all posts

Monday, February 15, 2016

How We Built A Weathervane, Part Ten


It's Monday, so that means another round of weathervane goodness. The last time I showed the first of the metal work, so on with more of that.

Here, the fins are all cast and pretty much cleaned up. 

More work on the directionals that will be attached to each eel. 

The first half of an eel getting cleaned up after the funnel and flashing have been removed.

The second half of the eel just after the funnel has been cut off. 

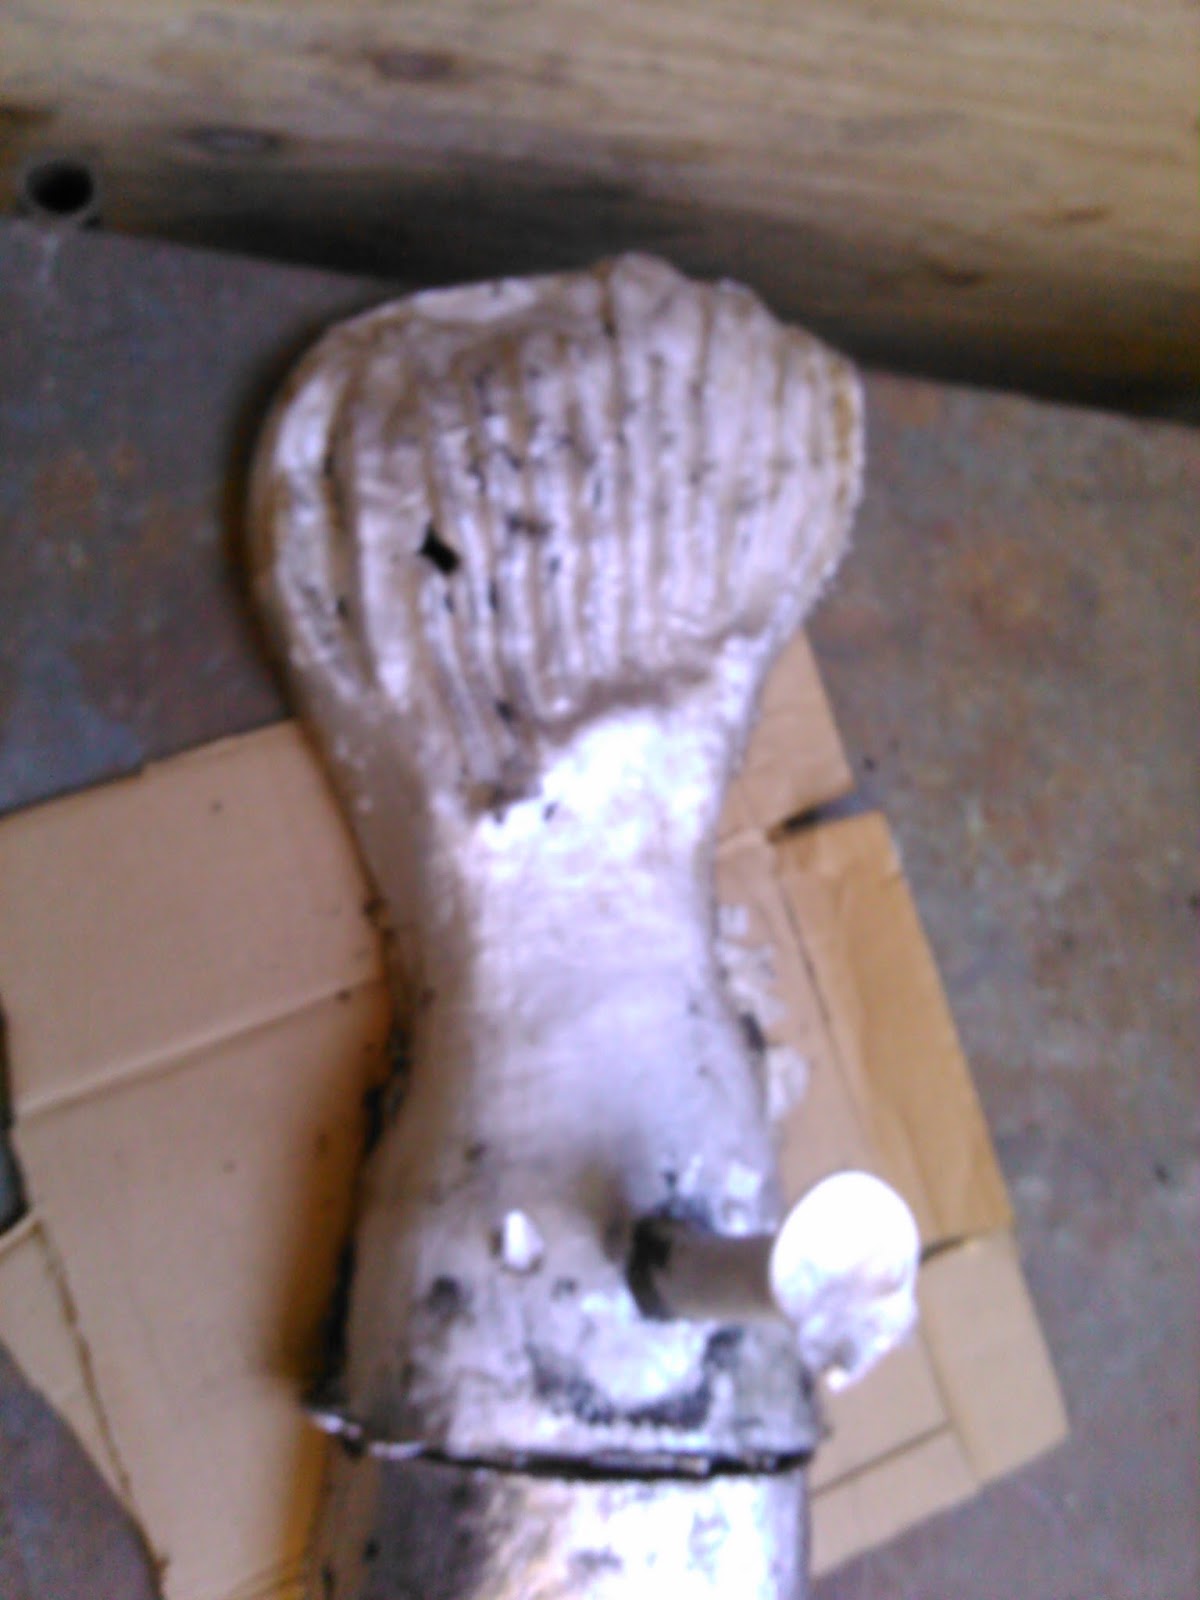
The three sections of one of the gar halves. This has been almost cleaned up and now needs to be welded together and any holes (one can be seen in the tail fin) need filling.

Gar face.

Nario of Venus Bronze Works begins welding the section of the gar together.

Mario attaching the head of the gar at this point.

Monday, February 8, 2016

How We Built A Weathervane, Part Nine


On to the metal part of the show.

We had these steel weather directionals made up from a company in Texas to fashion the copper over the top of to get the form right.

The first of the copper work, as Nario of Venus Bronze Works cut out the shapes for the letters.

The gar molds have been filled with aluminum. You can see one of the funnels at the near end mold. The sand molds will now be hammered apart at this point.

The nose end and mid section of the gar after the top half of the mold was broken off.

One half of the tail fin in aluminum.

The blackened look is just the burnt sand from the mold coming into contact with the liquid aluminum. 

The two electric eel halves in aluminum.

One half of an eel with the sand brushed off. The funnel will be cut off next.

The tail end with funnel still attached.

Aluminum eel and gar cleaned up as much as needed for the cutting and grinding to begin.


Monday, February 1, 2016

How We Built A Weathervane, Part Eight


Next up in the process of making the Belle Isle Aquarium weathervane was the final mold making that would be needed to cast the metal. In this case, aluminum.

These are sand molds that were made around the plaster castings. This is one half of the gar.

The plaster has been mostly removed and since the gar measures in at about four and a half feet the sand molds had to be sectioned off into three parts to be cast separately. Sheet metal was used to separate the parts.

Here is a side view showing the narrowing of the nose of the gar.


These past three pics show the making of the second half of the molds.


Here are the molds for the electric eel. Note, in these, as well as the gar pics, the 'knuckle' marks to line up the molds. At this stage, the work was mostly done by artist Leslie Cisco while doing the same for the Robocop statue molds. Thanks to Leslie for the pics!

Monday, January 25, 2016

How We Built A Weathervane, Part Seven


Continuing on with the latest installment on how we built the Belle Isle Aquarium weathervane.


The two halves of the plaster gar are now cleaned up and ready for the next step.

This is the anal fin, which was done in two halves and needed to be glued together for the next step.

With the first plaster casts done, our attention was now put on the electric eels. Here the same procedure as was done to the gar is done here. The metal flashings are placed right down the middle all the way around.

The first half of the plaster now done. Time to make one for the second half.

Here is the plaster casting of one of the halves.

Now, we needed to make the second plaster castings for the pouring of the aluminum. Boxes put together once again.

Here, Leslie Cislo is prepping the the second half pouring. The bottom molds have already been made, as you can see.

Monday, January 18, 2016

How We Built A Weathervane, Part Six


This is the sixth installment of the making of the Belle Isle Aquarium weathervane. We left off the last time with the plaster molds and will continue with that. Below are the  next steps that were taken with the making of said plaster molds.

This one of the pectoral fins.

Applying the plaster for the second half.

All of the fins after the plaster has dried and the clay is being removed.

Cleaning up the plaster mold of the dorsal fin.

The other half of the dorsal fin.

The wood box has been removed and the gar halves are ready to be separated. 

Separation complete and the clean up is needed.

The other half before the clay was removed. 

One half all cleaned up. 


Monday, January 11, 2016

How We Built A Weathervane, Part Five


This is the fifth installment on how we made the Belle isle Aquarium weathervane. At this point, all of the clay work has been completed and now the attention has been turned towards making the plaster molds.


Here, Giorgio is elevating the clay gar to what will be the half way mark for the wood box that will be put around the fish, so that we can make molds of both sides.

The straw was put in to mark the halfway point of the gar and then metal flashings were cut and begun to be placed around the entire shape.

In this pic, the metal flashings are just about complete. All gaps were covered to ensure that no plaster leaked through to the other side.

Here, the plaster is just about done. You can see the curving of the gar's body. That was covered so no shape was discernible once finished.

Separate molds were made for all of the fins, as well. 

One side is completed, now to pour the plaster for the second half. "knuckle" indentations were made so that the two haves once dry would line up properly.


Monday, January 4, 2016

How We Built A Weathervane, Part Four


As the gar was tightening up and getting to where it needed to be, the focus shifted next to the electric eels design element that would be part of the directionals below the gar.


Since we would be casting an aluminum copy of the eel, it was necessary to build only one of the four, as they would all be hammered in copper over the same casting. Here, the eel is blocked out in a simple shape in foam.

Next up, the foam eel was coated in clay to begin the details.

Working on the eyes, gills and fins.

Refined some small details and made minor adjustments here and there.

The gar with fins set aside, as they would be cast separately and the eel. Ready now for plaster!